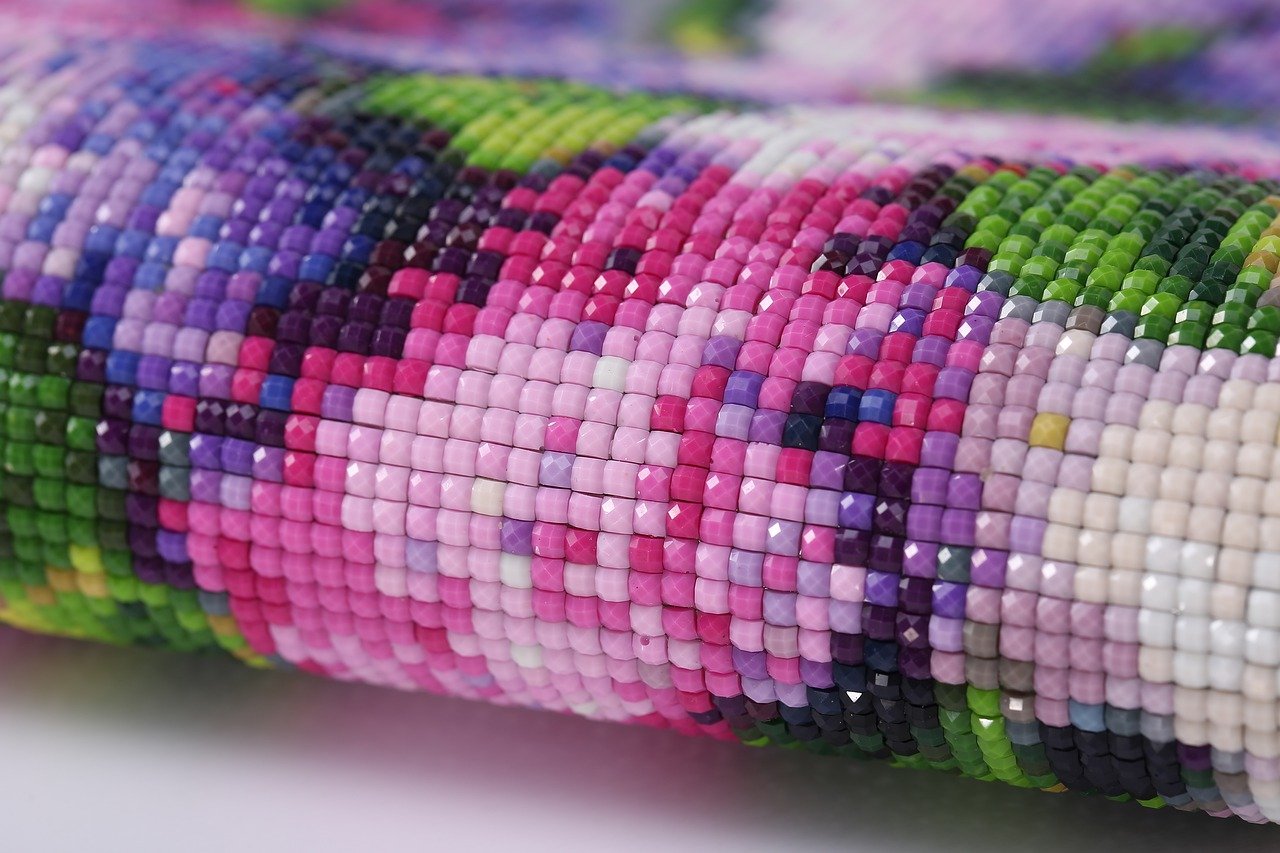
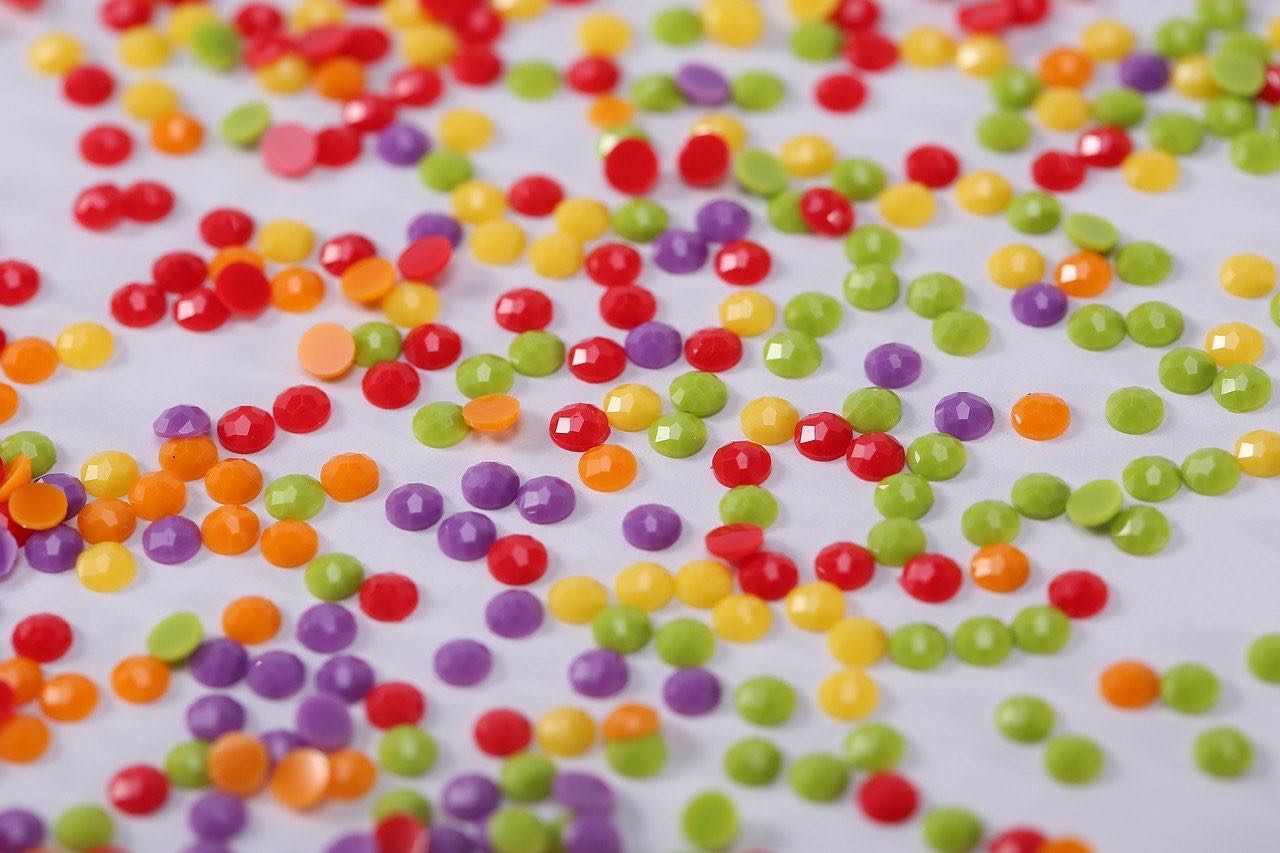
Diamond painting is an excellent form of art that has gotten popular over the last few years. A lot of people compare it to cross-stitching in terms of the intricacy and the patterns that you have to follow; rest assured it is a pretty great hobby! And because of Covid-19, there has been a dramatic surge in the number of people taking up intricate hobbies related to crafting, and diamond painting happens to be one of these hobbies!
However, if you are just starting out on your Diamond Painting journey, you might need some tips and we are here to give them to you. Often, novice diamond painters might come across some worrying things and have no idea what to do, which is why we recommend going through our tips and tricks before you grab your diamond painting pen so that you can enjoy the activity to the max!
So, without making you wait anymore, here are some of our top tips for people who are now getting obsessed with custom diamond painting and want to make their experience even more enjoyable.
How to Perfectly Unroll Your Canvas!
When you order your diamond painting kit you might notice that the canvas comes rolled up. A lot of people put it under a mattress or some books overnight to unroll it so that they can work on it without any issues. However, this process can be time taking and takes away from your experience! We have an easy hack for this; all you need to do is peel back the wax paper halfway from each corner and smooth it back down. Once you do this, the canvas will be perfectly flat and ready for you to work on immediately! Yes, it is that easy to flatten it out!
1. Avoid Lint and Dust Getting Stuck on Borders
When you are working intently on your canvas, you often see that the borders are accumulating lint, dust, and more! It can be very frustrating because the borders have adhesive on them even though there are no patterns on them, which means they remain empty and cannot be covered with diamonds! However, there is a simple hack to help you overcome this! You can simply line the borders with washi tape which is incredibly gentle! You can leave the tape on for good if you prefer or take it off once you are done with your diamond painting because it is incredibly gentle and comes off with no issues and leaves behind to debris!
2. Work with the Most Efficiency
A lot of people who are starting out find that they take a lot longer to complete a diamond painting and at times go about it in a way which might make them damage certain areas. However, we want to share with you the most efficient and safe way to work on your diamond painting; start from the upper right corner (or upper left if you are left-handed)! This technique will help ensure that you do not get random things stuck to the other parts of the adhesive on the canvas or and reduces the risk of anything drying out even a little bit!
3. Avoid Air Bubbles and Lumpy Application
An issue a lot of diamond painters encounter is the lumpy and uneven application they get in certain places. This is especially true for areas where the wax paper is divided. The issue behind this lumpy area is that there are air bubbles under the adhesive’s surface that leads to uneven application. The trick we are about to share is easy. Get a paper cutter and slice the area very, very gently so the air stuck underneath the surface can escape. The trick is to make sure you do it very gently since the adhesive canvas is quite thin, and if you exert too much pressure, you can possibly cut through the entire thing! Thus, a gentle touch is key. Once you get the air out of the air bubbles, you can easily apply diamonds on the surface and have them apply to the canvas perfectly!
4. Get a Light Pad for When You Work at Night!
A lot of times the only time you have to work on your diamond painting is at night but by then the sun has set which may make things a lot tougher. And since a lot of people turn to diamond painting to relax at the end of a long day of work, this isn’t great! However, we have a pretty neat hack for this. You can get a light pad! A light pad is a cheap and nifty gadget that is shaped like a traditional paper pad and has a USB port which when connected to a batter, enables it to light up. The light pad has LED lights inside, which light up. You can get one of these and slip it under the canvas, and it will act as a backlight to your diamond painting’s canvas and help you see the directions on the canvas much better! This will honestly be a game-changer for how comfortably you can do your diamond paintings at any time of the day!
5. Seal Your Diamond Painting
A lot of novice diamond painters might not be aware of the fact that they really need to seal their diamond paintings to ensure that over time nothing happens to them! As we all know, adhesives do not last forever and thus, even the canvas for your diamond painting might slowly start to deteriorate and some of your diamonds might fall out. Apart from that if water or any kind of moisture gets on the painting it could be a disaster! This is why sealing your diamond painting is so important! For this, you need to get a sealant which can be found at any craft store. Before you apply the sealant, you need to have the painting ready. First take washi tape and cover the borders of the painting so that the sealant doesn’t apply there. After that, take a rolling pin or any other heavy cylindrical item and roll it over the painting to really set the diamonds in! Once you have done this, get your sealant and use a brush and apply it all over the painting in even strokes! Leave it overnight to dry and the next morning your painting will be ready to be displayed and to live a long life without any damage!
Diamond paintings are a fun medium of artistic expression and a lot of people enjoy them quite a lot! We highly recommend this hobby because it can help you create a lot of beautiful pieces which can be framed and displayed around your home or even gifted to your friends and loved ones!
Diamond painting is a hobby which can be enjoyed leisurely! You do not have to finish the entire thing in some sitting but can distribute it over a number of days. Since there is wax paper over the adhesive, you have nothing to worry about as you can easily reapply the wax paper over the area which is left unfinished without worrying about it drying out or getting dust and other particles stuck on to it!


